If you see this, I can.
Uncategorized
Well that didn’t go very well, did it?
As I mentioned in the activity stream post, there are going to be a number of issues porting Civatar as it stands going to the new server, and it still isn’t possible to stay on this one much longer.
Essentially there are database issues I have to clean up – it isn’t just the size that is the problem, I got around that, it’s that there are data errors in the current database that need cleaning up.
There are plugins that have to be updated to work with PHP 8.2
And there are some that are not working properly even here, the user block and moderation plugins for example have problems.
I guess one question that comes to mind to me anyway is would we be better off trying something else? I’m really not happy with the way buddy press works, the only good part to me is the fact we can all have our own sites, but the activity stream is wonky even with those.
Is anybody up for trying something different, and by “trying” I mean I load the software on the new server under a different domain name so we can use it while Civatar is still operational here.
I can link a page of all the current self hosted social software packages if you want to take a look at them.
Other than that, I am going to take the next week trying to fix the issues here so it (hopefully) can be ported. I am less optimistic about that than I was before. Plan “B” of course was to change the Domain so it pointed back to the old server. We are there.
Site maintenance 05/06/2023
I reerted to an earlier version of the custom e-mail plugin I wrote, mail should be going to yahoo addresses again. I can see if they are still getting blocked if it happens and will take further action if I see any.
Both Divi Builder and the Divi theme needed updating, I did that manually since automatic updates for them don’t work on this site.
You can now block users, the option shows up on the profiles. Now a request: Please don’t block anybody unless they do something block-worthy here, let’s not have carryover from disagreements on Schmooze please.
I also installed some moderation tools. For those to be used somebody is going to have to be made moderator. At the moment I don’t see any huge need for them, but if we grow to the point we have problem children, we are going to need to decide who will moderate. It’s not going to be me.
Editing Text In Gutenberg
There is a lot to learn with Gutenberg, I think the first thing would be don’t try to do your formatting with a word processor. The problem is the code it generates is not HTML code. You may be able to save it as HTML code and use it but a simple copy and paste isn’t going to work.
That said, there is a heck of a lot you can do in the Gutenberg editor yourself if you learn how to use it. In the interest of not reinventing the wheel, probably a good place to start is this article: https://www.codeinwp.com/blog/wordpress-gutenberg-guide/
Really short version:
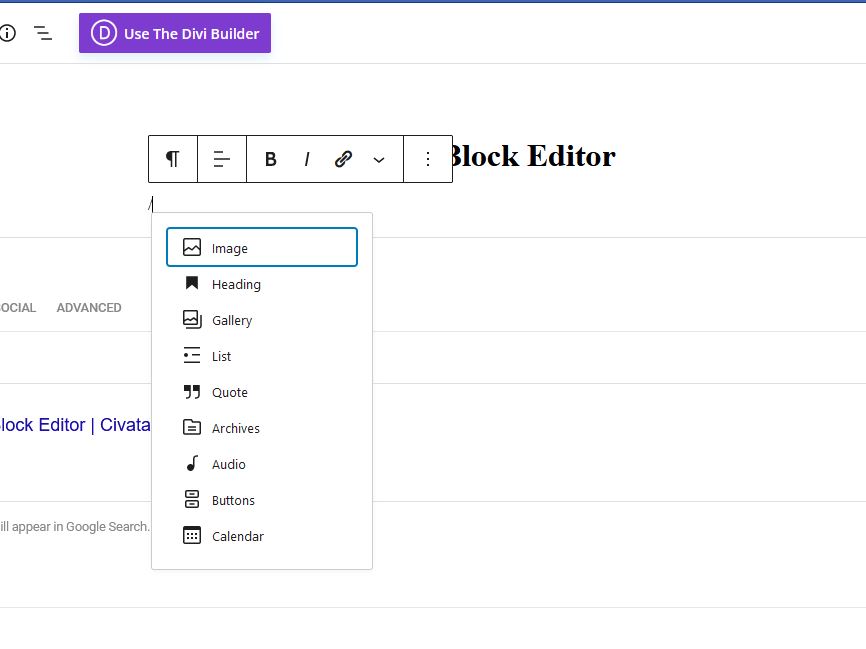
Pull up available blocks by pressing the + sign at top left.
Text formatting tools are in the Block editor on the right ->
When you have the available blocks section open, check out patterns, they have some interesting pre-made blocks in those that can be easily edited.
“Don’t believe everything you read on the internet”
– Abraham Lincoln

Actually you can do a whole lot more in it than I originally gave it credit for.
Including breaking it into columns which is probably how that pattern above is done

Anyway play around with it. While DIVI gives you a lot more options, Gutenberg is pretty full featured once you get to know it. Oh yeah, and SAVE your draft periodically. You don’t have to publish to save, and it saves half an hour of work going
*POOF!*
That link is up on the top right.
Comments
If you want to disable comments needing to be authorized go to your dashboard, settings, discussion and uncheck the box that says a commenter must have a previously approved comment. You might also want to adjust the number of links allowed, I’d leave some limit on that one though you may want it larger than 2.
If we get a spambot invasion you will want to turn that back on, also you may need to turn on the one that says a user needs to be logged in to comment.
As long as that doesn’t happen leave that alone.

Creating Your Blog Site on Civatar
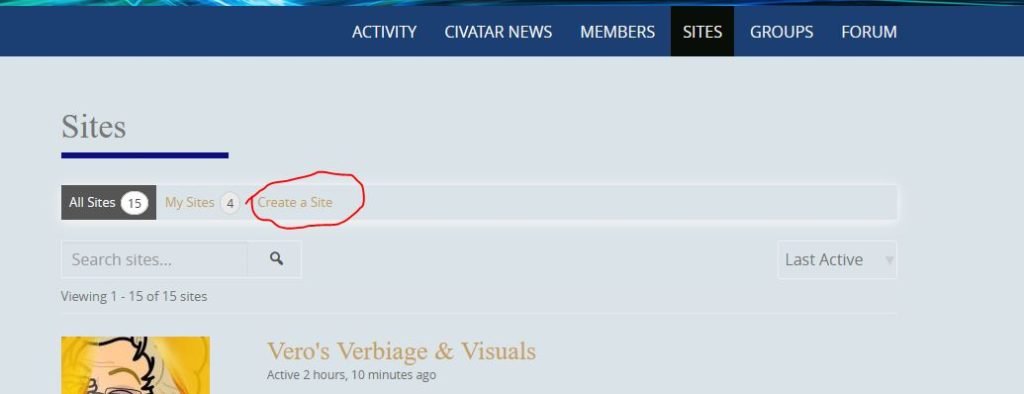
To start this process, click on the Sites tab then on the link “Create New Site”
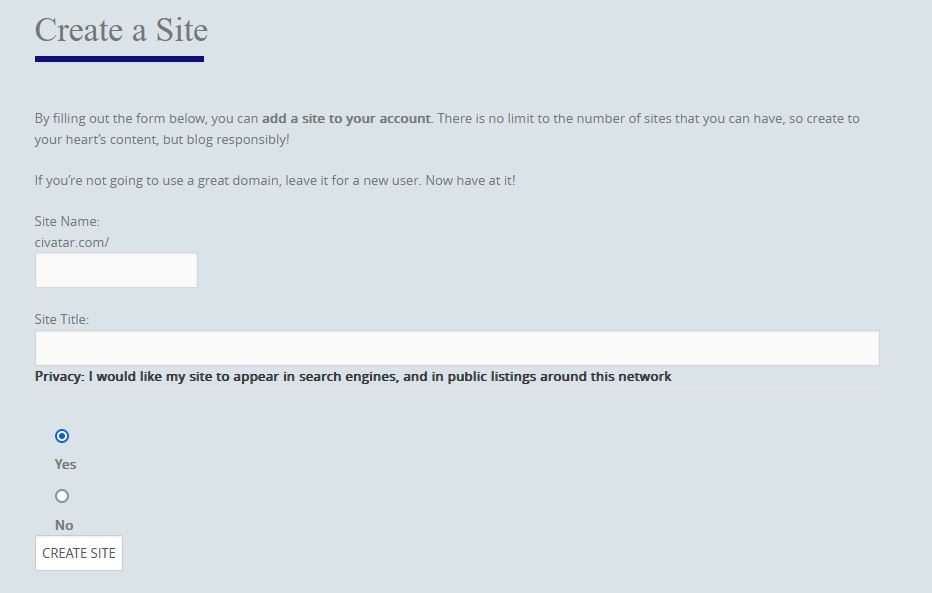
So Site Name for example, could be nutsyandtheegg and Site Title could be Nutsy And The Egg
They don’t have to match, but the Site Name DOES have to be unique – if somebody else used it already on this site, you can’t, and you will get an error, so keep that in mind
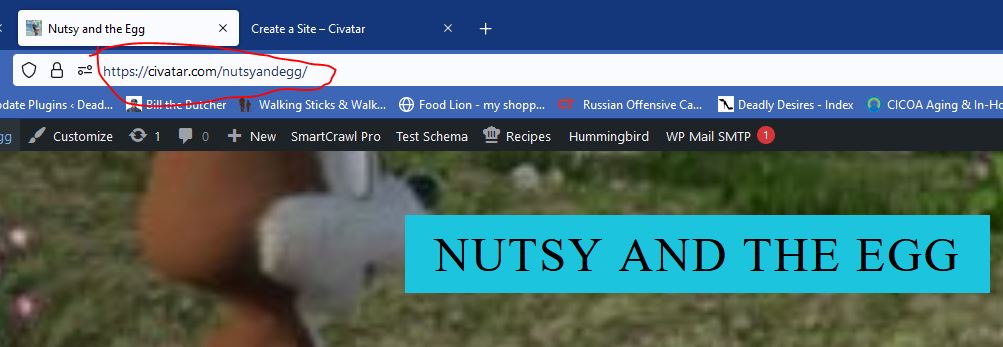
Here’s what it looks like after the site is created:
That’s the reason there can be no spaces or special characters in it.
I’d also like to point out that if you want to invite someone to visit your site without going to civatar first, just give them that URL, it will take them directly to your site, they don’t have to go directly to civatar first.
OK, one last issue and we are done:
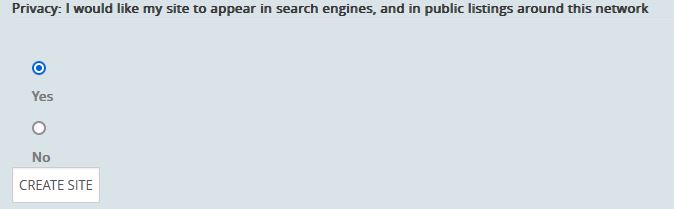
It is still findable if you have the URL to the site, and if you give that URL to somebody, they can get to your site.
The last item is if you choose to make it private as you work on it, I have to flip a switch for you to make it public afterwards. No big deal, I just have to check a checkbox, just let me know.
That’s it, two text boxes to fill, one radio button to choose, then hit that CREATE SITE box and you are on your way!
Last note: What you really have there is your own wordpress site. You can play with customization, menus, categories, pages, anything you can do on a wordpress site except for install your own plugins. That has to be done at the network level.
And if your site is marked public, anything you do there will make its way to the activity feed on Civatar itself.
Any questions, just ask.
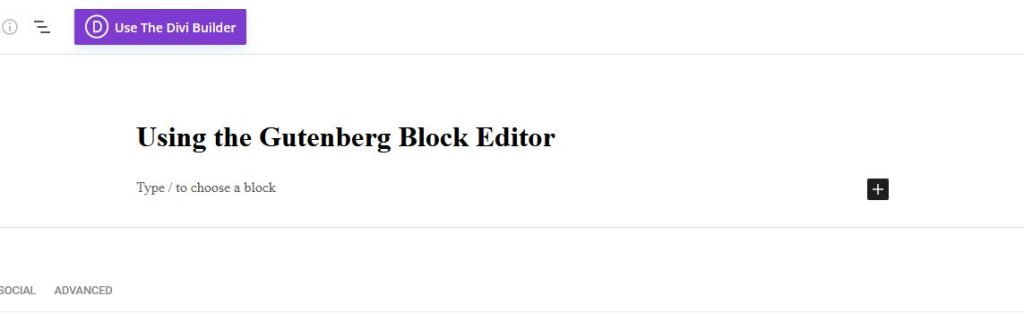
Using the Gutenberg Block Editor
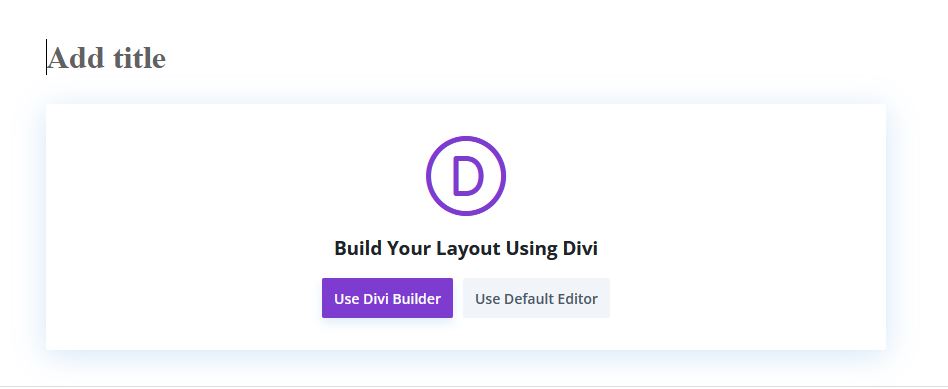
Gutenberg is the default editor for both Pages and Posts (Your Blog). Divi is a fancier editor that requires more work to learn. We’ll get to that one in stages later, there is a lot to cover there. If you want to use Gutenberg, click on the “Use Default Editor Button”
You are also going to need to give your post/page a title, I usually do that before I choose the editor since Divi can get wonky about that. Gutenberg doesn’t care as long as you remember to give it a title before you publish it.
And that’s about it. A fuller discussion of using the Gutenberg editor is at this link:
https://wpastra.com/guides-and-tutorials/wordpress-gutenberg-guide/
No reason to reinvent the wheel 😉
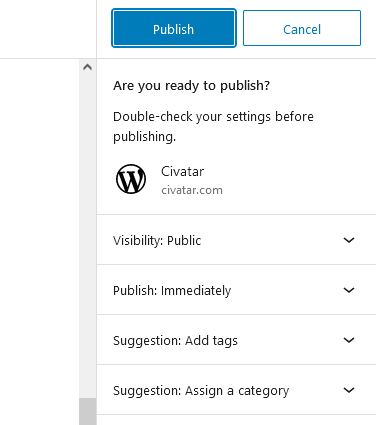
The last thing to do is to publish the post/page. This makes it readable in the blog, for pages, you also need to set them up on the menu for people to find them. More on that later. In any case, you need to press the “Publish” Button twice…
The first time tells it you are ready to publish, and brings up publishing options, the second time actually publishes the post. If you don’t press it twice, you haven’t posted.
Using the Theme Customizer
All worpress themes these days allow you to do customization on the theme using the Customizer. This is located at the top left of the screen (See picture below). I have the default theme set as Pure and simple, which has a rather robust set of customizing options, as well as default settings that allow you to start blogging quickly.
The other available theme is the native one for divi, you should probably be comfortable using wordpress before you tackle that one, there is more to the initial set up.

Clicking on that link brings up this widget on the left

This is real time front end editing, any changes you make you will see directly on the screen. Let’s give it a header image first. Click on “Header Image to open that section, upload an image, then crop it. You’ll see exactly how it looks, if you don’t like the way it turns out, try again until you get what you want.

You can change any global site colors with the color tab. Just be caresful not to set text and the background color to the same thing or you text will dissappear.

Hopefully this gives you a good start on using the customizer. More documentation is coming 😉
Trying to Master Divi
I didn’t get much done here last week – I wasn’t feeling well, nothing major, just didn’t accomplish much.
Divi is a handfull. The default theme builder does not play well with Buddypress, that’s OK, the divi buidler can be used independently of that. I have a buddypress theme or two I can look to adding, but the Pure and simple theme pretty much does the job.
There’s a whole lot you can add to a page with divi, and there are a whole lot of ways to run into trouble with it. We’re probably going to disable some of it just to make it less confusing. On the whole though, it can be a lot of fun to use.
Text Dividers
Text Masks Use Background images to color text. Pretty neat. This is the image I am using in the background:

Hello world!
Hello World!
There’s still a lot to do here, but the site is pretty much fully functional now. I want to add a few more items to the comment box, I have a lot to configure (really… A LOT) and I still want to install a front end editor to make it easier for everybody.
This is Multi-site WordPress, if you want to blog you essentially create your own site to do it on, and anything you do on that site goes in the activity stream. New sites are automatically set up for blogging and if that’s all you want to do just add the headers, colors and background you want and blog away.
However since it is a WordPress site, there’s a whole lot more you can do with it, including pages, menus, categories, all sorts of things. You should be able to customize and make the place your own.
We will be putting up a bunch of documentation as we go along, I’ll make sure this blog page has pointers to it all, and I will probably make the post containing it sticky so it is always on top.
That’s it for now, thanks for being here and have fun.